No-Bake Creamy Pineapple Dessert
Looking for a refreshing, no-fuss dessert that brings a tropical twist to the table? This No-Bake Creamy Pineapple Dessert is a luscious, light treat that’s incredibly easy to make with just four simple ingredients. Whether you’re headed to a summer potluck, planning a holiday dessert table, or just need something sweet without turning on the oven, this pineapple dream delivers every single time.
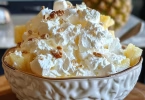
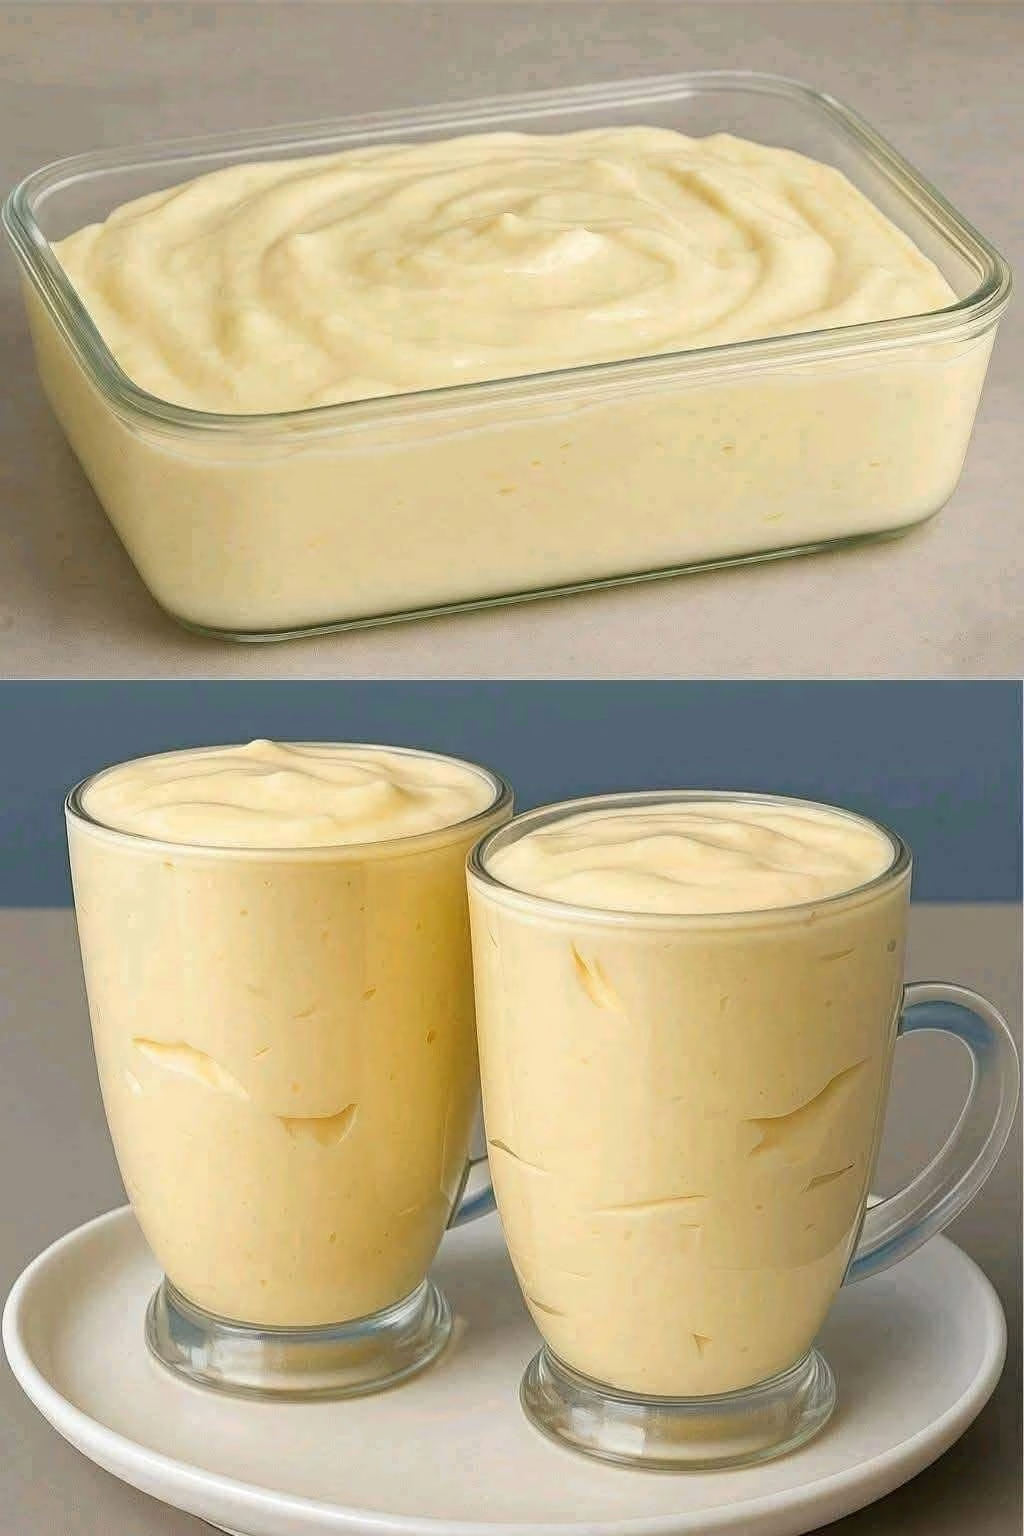
Imagine soft whipped cream folded into rich sweetened condensed milk, combined with juicy crushed pineapple—all coming together into a mousse-like texture that melts in your mouth. No gelatin. No baking. No special tools. Just easy ingredients, fast steps, and pure pineapple bliss.
Why You’ll Love This Recipe
- No-Bake Simplicity: No oven needed. Just whip, mix, and chill.
- 4 Basic Ingredients: Everything is budget-friendly and pantry-ready.
- Crowd-Pleasing Flavor: Light, tropical, and perfectly sweet for every occasion.
- Make-Ahead Friendly: Even better the next day—ideal for prepping in advance.
- Vegetarian-Friendly: No gelatin means everyone can enjoy it.
Ingredients (Serves 6–8)
- 1 can (20 oz / 565 g) crushed pineapple in juice – Adds natural sweetness, moisture, and tropical flavor. (Do not drain!)
- 1 can (14 oz / 400 g) sweetened condensed milk – Provides richness and a creamy base with built-in sweetness.
- 1 cup (240 ml) cold heavy whipping cream – Whips up light and fluffy to give the dessert its mousse-like texture.
- ½ cup (60 g) powdered sugar (optional) – Enhances sweetness and stabilizes the whipped cream. Taste and adjust.
Pro Tip: For a flavor twist, add a splash of vanilla extract or fold in toasted coconut flakes for added texture.
Step-by-Step Instructions
1. Whip the Cream
In a large chilled bowl, use a hand mixer or stand mixer to beat the cold heavy whipping cream on medium-high speed until soft peaks form. This typically takes 2–3 minutes. Make sure your cream is cold—it helps it whip up faster and fluffier.
2. Sweeten the Cream
Gradually add the powdered sugar (if using), continuing to beat until stiff peaks form. Your whipped cream should be thick but still airy—don’t overbeat or it may become grainy.
3. Fold in Condensed Milk
Using a spatula, gently fold in the sweetened condensed milk. This step is key—fold slowly to keep the whipped texture intact. You should have a light, creamy base that holds its shape.
4. Add the Pineapple
Add the entire can of crushed pineapple with juice. Fold it into the cream mixture until fully combined. The juice helps add extra flavor and moisture, giving the dessert a naturally luscious consistency.
5. Chill
Transfer the mixture into a large serving dish or individual jars or cups. Cover and refrigerate for at least 2 hours—overnight is even better to let flavors meld and the texture set perfectly.
Serving Suggestions
- As-is: Serve in bowls with a spoonful of whipped topping or a mint sprig.
- Pineapple Parfaits: Layer with graham cracker crumbs or crushed vanilla wafers in dessert cups.
- Cream Pie: Spoon into a graham cracker crust and chill for a no-bake pineapple cream pie.
- Toppings: Try maraschino cherries, lime zest, or toasted coconut for color and flavor.
Storage Tips
- Refrigerator: Store in an airtight container for up to 3 days.
- Do not freeze: The whipped cream may separate and affect the texture.
Why This Recipe Works
This no-bake pineapple dessert is loved because it strikes the perfect balance between ease and elegance. With zero cooking and minimal cleanup, it delivers rich flavor and creamy texture without the heaviness of traditional desserts. It’s sweet but not overpowering, tropical yet comforting—ideal for family gatherings, summer picnics, and even weeknight cravings.
Conclusion
If you’ve been looking for a light, tropical, no-bake dessert that takes just minutes to prepare and always gets rave reviews, this creamy pineapple delight is your new go-to. Simple, affordable, and irresistibly delicious, it’s proof that a few pantry staples can become something truly special.
Give it a try today and see why so many home cooks call this their favorite no-bake treat!