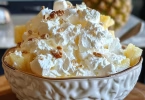
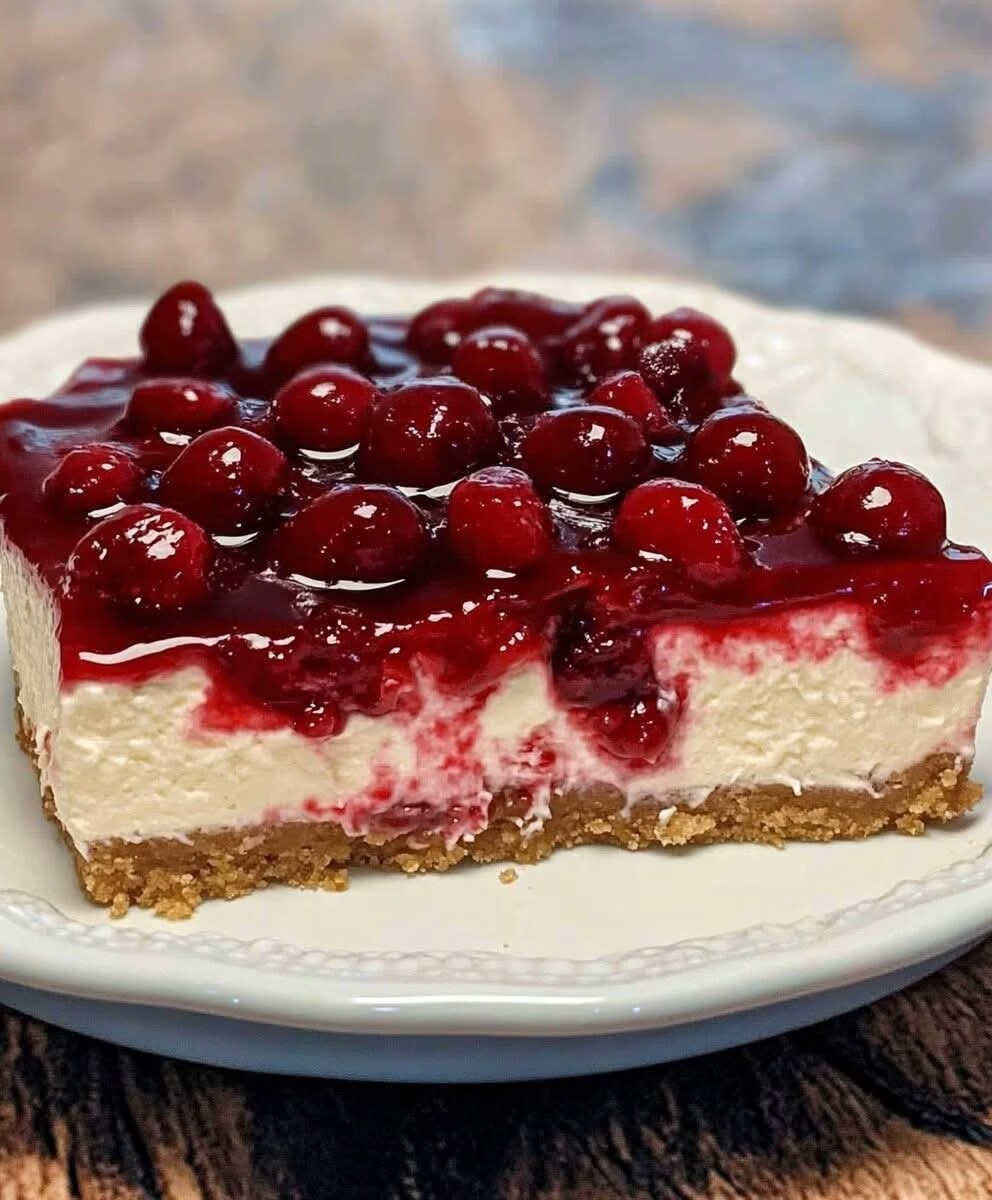
No-Bake Cherry Cheesecake — Creamy, Buttery & Completely Oven-Free
If you want a dessert that’s silky, bright, and wildly simple, this No-Bake Cherry Cheesecake delivers. A crunchy graham cracker crust, a cloud-like cream cheese filling, and a glossy cherry topping combine into a show-stopping dessert that you can make ahead — no oven required.
Why this recipe is irresistible
Every element is tuned for maximum contrast: the **buttery, crunchy crust** anchors a filling that’s airy yet rich, while the **tart-sweet cherry topping** adds color and bright fruit flavor. Because it’s no-bake, it stays cool and light — ideal for warm weather, last-minute celebrations, or anyone who wants dessert without turning on the oven.
Ingredients
Below you’ll find the ingredient list with precise roles explained so you understand how each item contributes to texture and flavor.
- Graham cracker crumbs — 1 ¼ cups
Base and structure: finely crushed graham crackers form the crunchy body of the crust and provide a toasty, slightly sweet contrast to the creamy filling. - Unsalted butter, melted — ¼ cup (4 tbsp)
Binder and richness: melted butter binds the crumbs together so the crust holds its shape and adds a buttery mouthfeel. - White sugar — ¼ cup
Sweetener for the crust: balances the savory butter and enhances browning-like flavor even without baking. - Cream cheese (softened) — 1 (8 oz) package
Core of the filling: provides the tangy, creamy body of the cheesecake. Softening ensures a lump-free, smooth filling. - Powdered sugar — 1 cup (confectioners’)
Sweetens and stabilizes: dissolves easily into the cream cheese for a silky texture and helps firm the filling slightly. - Vanilla extract — 1 teaspoon
Flavor enhancer: adds warm, aromatic notes that round out the dairy and cherries. - Heavy whipping cream — 1 cup (chilled)
Lightness and volume: whipped to soft peaks and folded in to create an airy, mousse-like texture so the filling isn’t dense. - Cherry pie filling — 1 (12.5 oz) can
Topping and color: provides the sweet-tart, glossy finish. Use high-quality filling or fresh cherry compote for a premium result.
Equipment
- 9-inch pie plate or springform pan
- Electric mixer (or whisk and elbow grease)
- Mixing bowls, spatula, measuring cups
- Plastic wrap or an airtight container for chilling
Step-by-Step Instructions
- Make the crust: In a medium bowl combine 1 ¼ cups graham cracker crumbs, ¼ cup melted unsalted butter, and ¼ cup white sugar. Stir until the mixture holds together when pressed. Press the crumbs firmly into the bottom and up the sides of a 9-inch pie plate (or into the bottom of a springform pan) to form an even, compact crust. Use the bottom of a measuring cup to tamp it down for a professional finish.
- Chill the crust (optional but recommended): Place the prepared crust in the fridge for 10–15 minutes to help it set. This reduces crumbs when you spoon in the filling.
- Beat the cream cheese base: In a large bowl, beat the 8 oz softened cream cheese with 1 cup powdered sugar and 1 tsp vanilla extract until smooth and fully combined. Scrape the sides of the bowl and continue beating for 30–45 seconds to remove any lumps. The texture should be silky and spreadable.
- Whip the cream: Place a metal or glass bowl in the fridge for a few minutes (or use a chilled bowl). Pour in the 1 cup heavy whipping cream and whip on medium-high until soft peaks form — when you lift the whisk, peaks should gently hold but slightly fold over at the tips.
- Fold to combine: Gently fold one-third of the whipped cream into the cream cheese mixture to lighten it, then carefully fold in the remaining whipped cream until no streaks remain. Use a rubber spatula and fold with a gentle motion to keep the mixture airy.
- Assemble: Spoon the filling into the chilled crust, smoothing the top with an offset spatula or spoon. Cover loosely with plastic wrap (or place under a tent of foil) and refrigerate for at least 2–3 hours, ideally overnight, until firmly set.
- Add the cherry topping: When ready to serve, gently spread the entire can of 12.5 oz cherry pie filling evenly over the set filling. For a neater presentation, spoon filling down the center and smooth outward to edges.
- Slice and serve: Use a hot, clean knife (dip in hot water, wipe dry) to get clean slices. Serve chilled within 2–3 days for best freshness.
Why this recipe is loved
This version is beloved because it balances simplicity and texture contrast. The crust gives a satisfying crunch, the filling tastes rich without being heavy thanks to whipped cream, and the cherry topping brings a bright finish. It’s fast, forgiving, and scales easily — make it for potlucks, birthdays, or weeknight treats.
Helpful Pro Tips for a Perfect No-Bake Cheesecake
- Soften, don’t melt: Soften cream cheese to room temperature so it blends smoothly. If it’s too warm, the filling can become loose.
- Chill the whipping bowl: A cold bowl helps the heavy cream whip faster and hold structure longer.
- Fold gently: To keep the filling light and mousse-like, fold whipped cream in slowly using a spatula, not a mixer.
- Set time matters: While 2–3 hours will work, chilling overnight yields a firmer, sliceable cheesecake.
- Upgrade the topping: Swap canned cherry pie filling for a quick homemade cherry compote (fresh/frozen cherries cooked with a little sugar and lemon) for a fresher flavor.
- Clean slices: Wipe your knife between cuts and run it under hot water for easy, clean slices.
Serving Suggestions
Pair slices with:
- A dollop of lightly sweetened whipped cream and a few fresh cherries or berries.
- A drizzle of dark chocolate or a light dusting of lemon zest for brightness.
- Serve with espresso or a fruity dessert wine for a café-style finish.
Variations & Substitutions
- Crust swap: Use crushed vanilla wafers, Oreo crumbs (omit sugar and use melted butter), or almond flour for a nutty crust.
- Flavor lift: Fold 1–2 tablespoons of lemon curd or 1 tsp lemon zest into the cream cheese for a citrus twist.
- Different topping: Use blueberry, strawberry, or mixed berry topping, or glaze with apricot jam thinned with a splash of water.
Storage
Keep refrigerated in an airtight container for up to 3 days. For longer storage, freeze slices individually wrapped in plastic and foil; thaw in the fridge overnight before serving.